zaterdag 19 maart 2016

My last analog wedding films sold

Fuji Reala, Fuji NPH Pro 400, Kodak BW400CN and Kodak Elite Chrome film
This week I've sold my last Fuji Reala and NPH films, and gave the student my last Kodak BW400CN as well. Together with Kodak Elite Chrome film, this typical set of films I used in the analog days of shooting a wedding.

My Last Analog Wedding
I don't even feel sad, though seeing the lot like in the photograph above, it brought back memories! This, or same set with one or two extra Fujicolor Press 800 films and maybe one extra BW400CN film, was my ultimate wedding kit. I've been taking wedding pictures for over 20 years now, and the analog days were the best, considering how clients loved their photos and paid well for a good wedding album, as hardly anyone had the guts to shoot a wedding in those days.

It was hard work! Carrying two cameras, lenses and flashes. Always having extra batteries and enough film with you. I still have my two Nikon F100 bodies, and one of the two SB28 DX flashes still works. My two 24-70 f2.8 Sigma lenses are written off, I can only use these lenses to teach our students where to find aperture on a lens etc. Same for the flash, this flash doesn't go well with the digital camera bodies and can even damage the camera.

Me with two cameras
My last analog wedding was the wedding of Annemiek and Wilfred, in 2007. This is me taking a selfie in the lamp of the wedding car. You couldn't take any decent photos with your phone, so often I used the last frame to take a photo like this, just to finish the roll of film.

Variety of Films
Having two cameras and wanting to shoot in- and outdoors, as well as B&W and crossed E6 film, I was always juggling which film to put in what camera at what time, as 36 exposures sometimes was too much. E.g. after a portrait shoot outdoors, using the Fuji Reala (100 asa) entering the church, you do need 400 asa (Fuji NPH) and sometimes there were quite some exposures left.

But shooting 100 iso film inside a church simply wasn't working, so you did need to change to 400 or sometimes even 800 iso. It was fun too, to try to get the most out of each film. I did like to vary in colour and B&W, so by picking your film wisely you created the best wedding series.

Using Black & White film added variety to an analog wedding serie

The E6 (slide) film was always cross processed so the colors would come out bright with big grain
Using one roll of slide film helped me to get some bright and over the top colours into the series. Fuji film, especially Reala, was the best and most neutral film with awsome skin tone and natural colours, but I always liked to add bright reds and blues to the posing portrait photos. I'll tell you more about how we got those colours without Photoshop in another blog later.

So in general I used 6 to 8 colour films, and 1 slide and 1 or 2 B&W films, meaning 360 exposures max. Clients would get an album with 80-100 printed pictures, and that was it. The book told the story of the day, with a roughly average of about 5-6 hours of photography per wedding shoot. Fuji Reala film is discontinued, as well is Elite Chrome and other Kodak film. It won't take long untill all professional films will be gone, leaving photographers with consumer films only.

Digital Era
Well, in these days clients don't mind I reck. When seeing all the photos of weddings shared on e.g. Facebook and other social media, all comments say "Beautiful photo!" etc. No matter what quality, as long as the bride's dress is visible in the photo people will like the it and say how beautiful the bride looks. Soon after the first digital cameras were good enough to shoot a wedding with, the lomo photography kicked in. That might have been the first sign that we don't care about getting the best quality (in film) anymore.

The poorer the quality, the more a lomo photographer likes it. The student who bought my films though, was really looking for the Reala film, as it's discontinued and she really love the specs of that particular film. The difference between Kodak and Fuji was really about bright colors versus natural colors, as both brands were excellent film producers. A lot of analog film will be gone soon, just being discontinued.

Fortunately we can still have a look at the photos and relive the moment of (one of) the most beautiful days on our life. Thank you Annemiek & Wilfred, the last analog wedding I did was awsome and I'll never forget the fun we all had!


donderdag 3 maart 2016

#Eyespiration: How to get blue sky in photos

Spain, beach © Artstudio23.com
When you are on holiday you want your photos to show the local beauty of the place you're staying at. But sometimes on a sunny day it seems you can't take a photo of the blue sky, the sky turns out pale, white.

How to take photos with blue sky:

- Position of the sun. The most important advice is to make sure to have the sun behind you when you take a photo. The more you are facing the sun, the paler the sky will be
- Contrast. Put e.g. a white or light colored object like a building in the front of the composition. Your camera will automaticly adjust the sky into a darker blue
- Morning or evening light. All colors are more intense at this time of day
- Polarizing filter. With using a polarization filter on a mirror-less or an dslr camera lens, the blue and other colors deepen
- Instagram. Photo editing apps and other retouching software will make colors come out better

If you turn your camera in the direction of the sun, you'll see a change of the colour of the sky. The more you turn towards the sun, the paler the sky. Buildings turn out sallow and grey. Especially in the middle of the day, when the sun's at her highest point, the light is very bright. Try to take photos early morning or later in the day, when the light is softer.
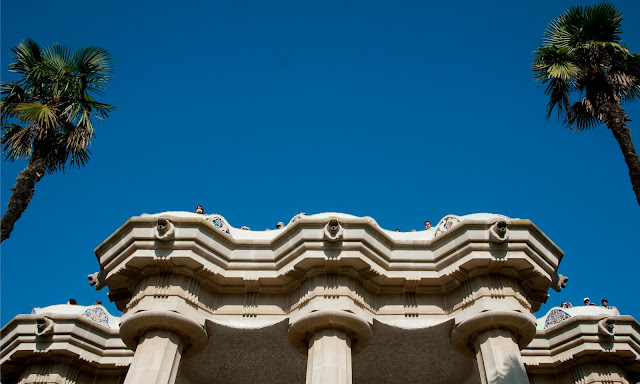
Barcelona, Spain - Parc Guell © Artstudio23.com
Blue sky: sun in my back, building in front creating more contrast
Barcelona, Spain - Parc Guell © Artstudio23.com
Blue sky: turning towards the sun the blue gets paler
Barcelona, Spain - Parc Guell © Artstudio23.com
Blue Sky: opposite of photo 1, the sky is pale, white and buildings grey and dark

We all want to take photos showing the best of our holiday. What's more beautiful than walking through a town and take photos of little, white houses against a dark blue sky? Blue sky is the ultimate holiday image, like a photo of the sea, feet in the sand or a selfie with a cocktail in our hand.

With your smartphone you can always adjust photos in an easy way. There are a lot of apps and even when posting a photo on Facebook or Twitter you can adjust the photo before posting with just one click. My favorite is Instagram. Ofcourse you can always use professional software afterwards, but wanting to retouch all 500 holiday pics might be a bit much.

Polarizing filter

With using a polarization filter on a mirror-less or an dslr camera lens, the blue and other colors deepen. Disadvantage: when bringing more than one lens, you'll need to buy more filters, as often lenses don't have the same diameter. Advantage: all colors look better, e.g. green is greener and especially a blue sky with white clouds will look dramaticly darker, a special effect coming out great with landscape pictures. Another advantage is the reflection in windows will dissapear when you use it, though I do like using this reflection in my photos. 

Backlight

Using backlight lighting  © Artstudio23.com
Though sometimes using the sun in the back can create a beautiful photo. Backlight photos, photos taken towards the sun showing mostly shade of the subject, are fun too!

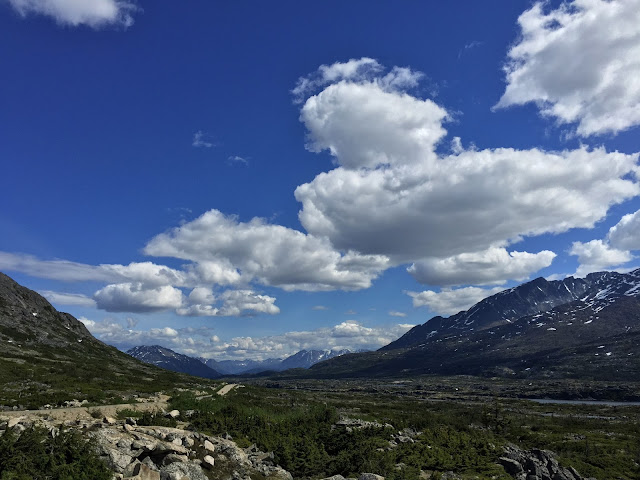
We love the dramatic sky in landscapes © Artstudio23.com
Clouds will enhance the dramatic appearance of blue sky over a landscape


Published in Dutch on Vakantieboulevard.nl 

#SWFC16 San Francisco Writers Conference 2016 Event Photography

San Francisco Writers Conference 2016
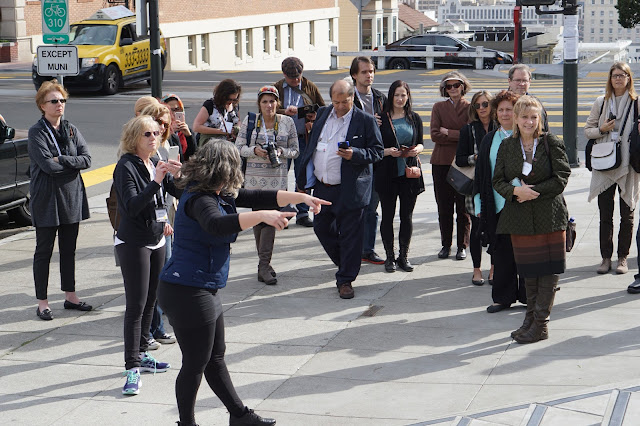
Together with Michel Switzar of DutchLines.nl I attended, photographed and lead the Writers Photo Walk at the SFWC in February 2016. As always the energy is vibrant and the speakers, agents, publishers and writers are fab!

Check out my photo series of Presidentsday weekend:

Mike Larsen


Opening 8 AM Friday 12 February 2016


Meeting a lot of new friend, writers, agents in one spot


Nina Amir's telling her success story


Ann Packer introduced and iterviewed by Victoria Zackheim


Meeting the fiction agents


Speak freely. Edit Thoroughly.


Keynote of writer T. Jefferson Parker


A few winners and runners up of the 2016 SFWC Writing Contest


Writers Photo Walk with Melanie E. Rijkers #ikzieikzie


Writers Photo Walk with Melanie E. Rijkers #ikzieikzie


Poetry in the boardroom with Dana Newman


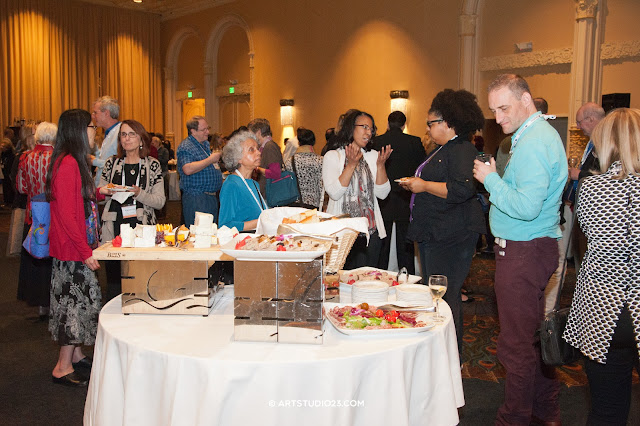
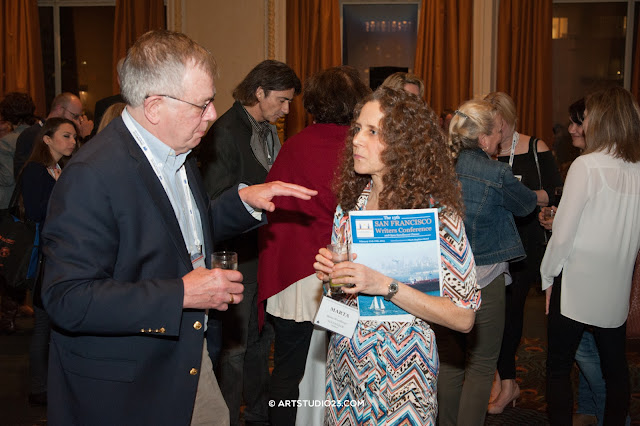
Gala and networking night


Gala and networking night


Gala and networking night


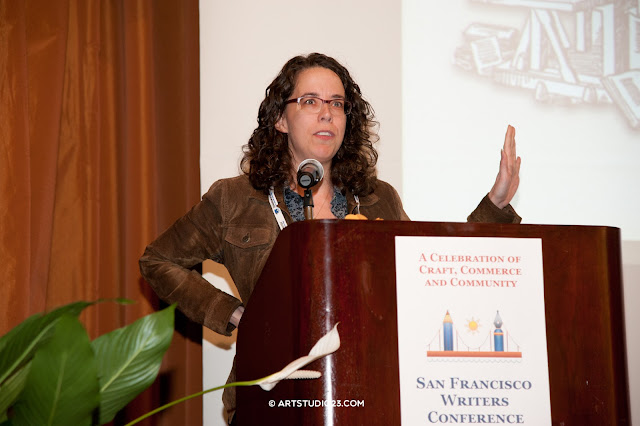
Author Jane Friendman inspiring keynote


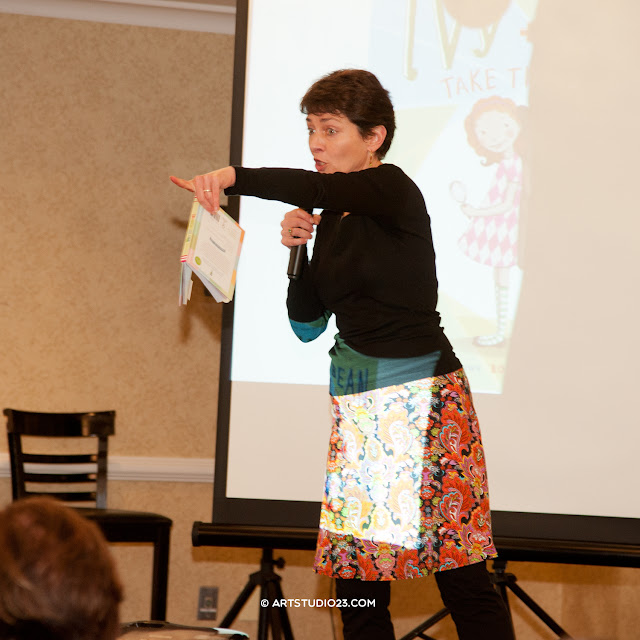
Ivy & Bean Author Annie Barrows inspiring the crowd


Scholarship winners 2016


See, share, like all 300+ photos on FacebookFlickr and Google+


© Artstudio23.com (ft. DutchLines)